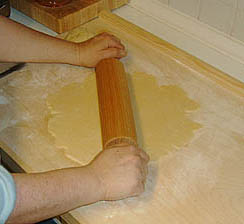
Rolling out the pie crust dough
Roll out on a lightly floured board. Always roll out from the center so that your pie stays in a circle as much as possible. Your dough should be about 3 to 4 mm thick and about 5 or 6 cm in diameter larger than your pie plate. Lay your pie pan upside down on the dough to measure.
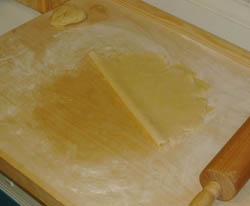
Folding the rolled-out dough
When your dough is the right size, fold it over in half, then in half again (in quarters, in other words). This makes it easiest to handle and lay in the pie plate without tearing it. If you've done it right and not used too much water, this will not be easy!
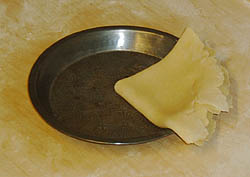
Fitting the pie crust in the pan
Lay the pie crust in the pan so that you can unfold it loosely over the pan. Try to place it so that the rough edges are not going to be inside the pan or on the rim (though there is a fix, if your crust doesn't cover well enough).
I should mention that the pan shown in these photos is not a deep dish pie plate, which is normally used for pumpkin pie.
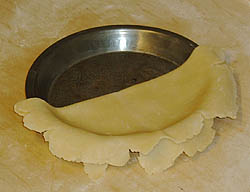
Unfold the pie crust
If your crust has cracked or split while rolling it out, you can make some repairs by pinching it together or, if necessary, by adding some trimmed off pieces to fill holes or gaps around the edge.
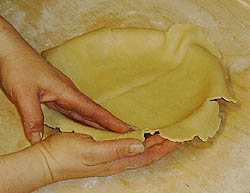
Gently fit the pie crust into the pan
You don't want to stretch the pie crust at all, but rather lay it into the pan, holding or lifting it slightly with one hand and easing it into place with the other. Think of the dough like a piece of very damp paper that you want to form along the inside of the pan. You want it to sit in there, but not stretch because when it dries (bakes) there will be some shrinkage and if you stretch it, it'll tear.
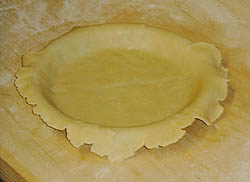
Pie crust, fitted in the pie plate
This is how your pie crust should look after you lay it in the pan. The form of the pie pan is clearly visible now (not like when you first unfolded the dough).
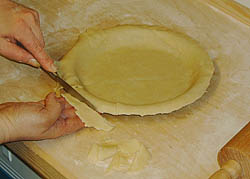
Trim the crust
Trim the crust till it's about 3.5 cm larger than the perimeter of the pan. If the edge of your crust isn't long enough in places, obviously, don't trim it there. Also, you can use scraps cut off from other areas to patch other areas.
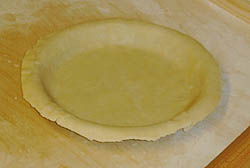
Trimmed pie crust
You can see in this photo (just right of center) where the pie crust was a little short and didn't get trimmed. You can take some of those scraps that were cut off from the rest to bolster such parts up by placing small bits of rolled out dough underneath the crust, rolling the edge around the patch as you tuck the excess dough under itself around the rim of the pie plate (see next photo).
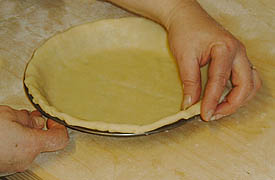
Finishing the pie crust
First, roll the dough under itself around the edge of the pan. The dough should be doubled and the same thickness all around. If you see some places that are thinner than others, tuck some scrap dough under the crust (rolling the crust around the patch as much as possible).
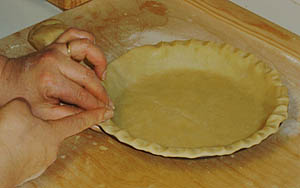
Fluting the edge
The final step is to flute the edge (or crimp it, using a fork) by pinching the dough between two forefingers. As you move around the perimeter, one forefinger rests in the indentation just made by the other forefinger. You can pinch it pretty well because the pinched dough puffs up a bit in baking. I move from right to left because I'm left-handed, but you may prefer to work from left to right.